Laundry Room Redo
- kbenson15027
- Jun 15, 2022
- 2 min read
Updated: Jun 16, 2022
Laundry rooms are usually one of the most-used yet least-loved rooms in our homes. My laundry room was dark, dated and dreary. It didn't need major deconstruction, just paint, updated storage solutions and brighter lighting. Here is the "before":

After setting a budget, my first step was planning the space and color scheme. I was keeping the same layout but I wanted to do a board and batten wall with hooks. I also wanted to update the cabinets, countertops, sink and fluorescent lights. First, I painted the space using SW Pure White . I removed the baseboards by partially drilling four screws halfway in at an angle then used a crowbar to lift them out of the grout (seen below).
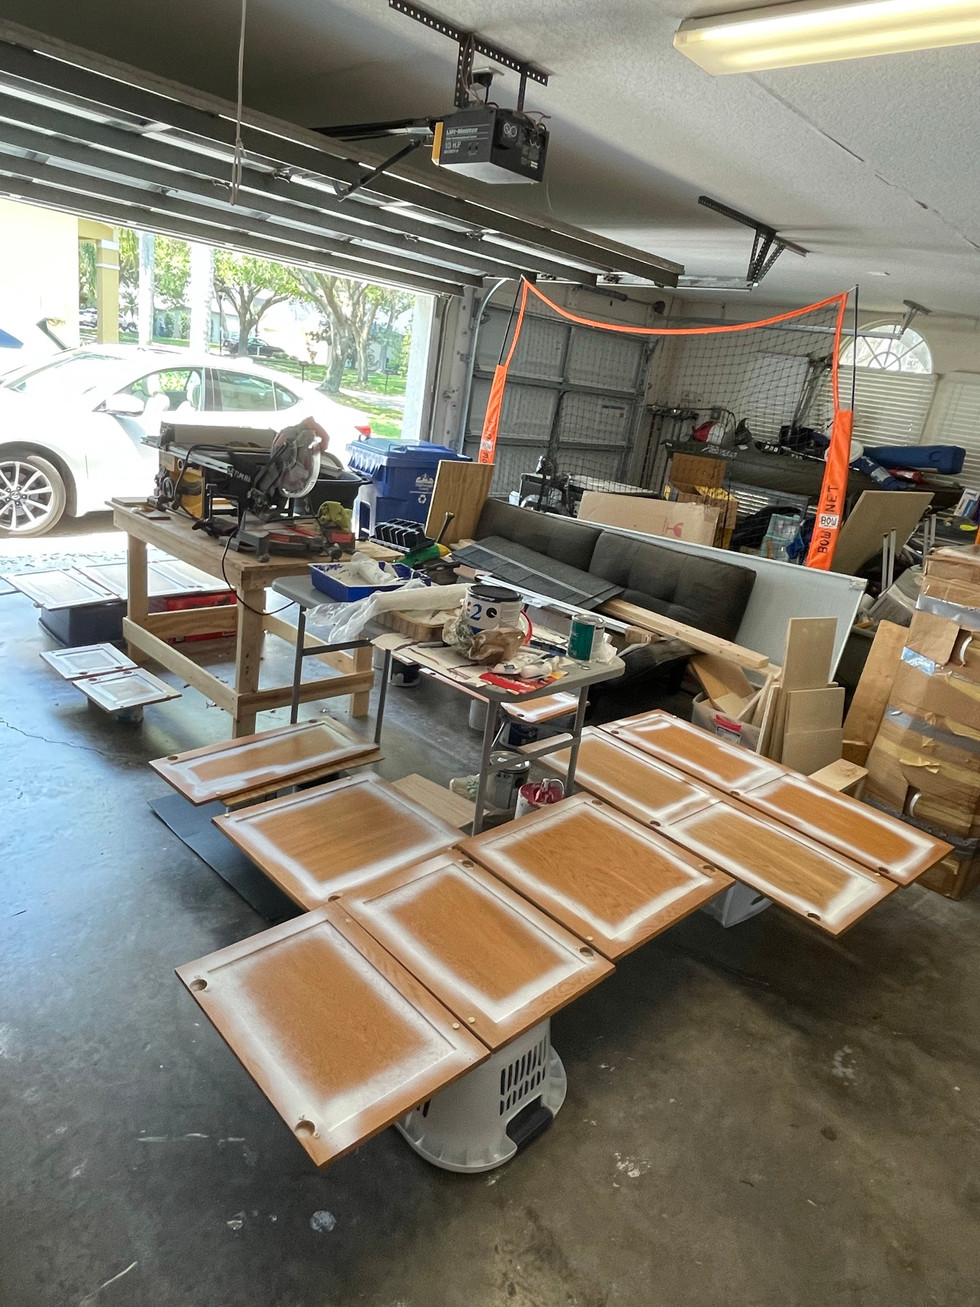
Next, I primed and painted the cabinets using SW Cyberspace. Hint: as you take each cabinet off, number them in a logical order. Trust me, you won't regret this step!
We yanked out the old countertops and sink. After looking at endless samples of quartz and granite, we decided to go with a laminate version of marble. The cost of quartz had skyrocketed and nothing we liked was in stock. We also decided this was just the laundry room and not a part of our home many people see. The countertops can be found at Lowe's. Just click here. Once the countertops were in place, it was time to tile the backsplash. I went with a picket marble tile and gold finish Schluter edging. I do all tiling using my tile cutter found on Amazon. Savings galore when you can do tile cutting and installation yourself!

With the sink area complete, it was time to move on to the board and batten hook wall and floating shelf. I measured the space and purchased these beautiful large gold hooks from Target click here. I also built and stained a floating shelf using sanded birch plywood. I'll do separate posts on the details of these projects soon.
The last big upgrade in this space is the entry door. The door was a flat, builder's grade door with no panels or molding to add interest. I like so many of the new designs I researched but ended up going with a timeless 5 panel Shaker style. I purchased a single thin sheet of sanded birch plywood then measured, sanded and cut the pieces. Using my Ryobi nail gun, I attached the pieces using 1 1/2" brad nails and a level. The seams were caulked and then the door was painted using the SW Cyberspace paint.


While this space is still in need of wall decor and final touches, I'm extremely happy with the changes. I may redo the flooring at a later time, but for now it's in good shape and is a neutral color that hides all the dirt tracked in from the garage.
I’ve learned two important things: Projects always take longer than planned and every project has unexpected problems that crop up. I’ve learned to embrace both of these things! Satisfaction level on this redo is 100%!


Comments